[ This is a reposting of my teaching blog post previously hosted on http://users.ox.ac.uk/~coml0454.
NOTE: I no longer teach at University of Oxford and this is a description of how I used to teach the course.]
Summary
This post describes how to create a Lubuntu-based virtual machine (VM) to be used when teaching of computer forensic analysis and investigation. The post discusses the background to the use of the VM, how the VM is created in VMware Fusion, and how Sleuthkit and other Linux-based utilities are installed. The post finishes with some suggestions on how the VM issued in class can be configured for the classroom teaching computers. This post assumes the reader is familiar with Linux and a virtualization application such as VMware. [While the applications and utilities used are appropriate for a computer forensics investigation, the use of a VM is most probably not an appropriate approach for setting up a production system to undertake computer forensic analysis and investigation because of the overhead the VM adds.]
Background
The FOR module on the Software and Systems Security programme includes a number of classroom exercises associated with the extraction and analysis of computer system artifacts. The assignments may also involve the extraction and analysis of computer system artifacts. To encourgage understanding of the extraction and analysis process the exercises use Linux and Sleuthkit utilities which are run from the command line. To allow the transfer of understanding and skills from the classroom exercises to the assignment, the students use a Linux-based VM for the classroom exercises and receive a copy of that VM for use when undertaking the assignment.
Linux and Sleuthkit have been choosen as there are no licensing issues associated with their distribution. Ubuntu distributions have been used for previous VMs used during the FOR module. The VM needs to be kept reasonbly up to date while at the same time keeping the size of the virtual machine reasonably small as well. Using the latest main Ubuntu distributions has resulted in the size of the virtual machine increasing. As a consequence this year I have choosen the Lubuntu 12.04 distribution to build the “Investigator” virtual machine. Lubuntu is a light(er) weight Ubuntu distribution.
VM Creation
In this instance, the Investigator VM is created in VMware Fusion 5 using Lubuntu 12.10. The lubuntu-12.10-desktop-i386.iso can be downloaded from Ubuntu here.
[Note: As of July 18, 2013, the Vmware Fusion 5 VMware Tools do not install correctly on the latest version of Lubuntu 13.10. There are changes in where the distribution saves the Linux header source files, so that the tools do not build correctly.]
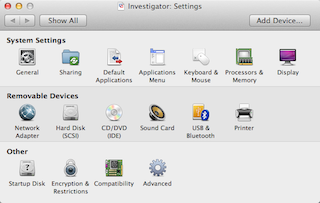
The VM is created using the standard VMware Fusion method and configured with the following settings:
- Memory = 1GB
- Hard Disk = 20GB in 2GB blocks
- Network adapater host = NAT
- Compatibility = VMware 3
Once the VM is ready to go, start the VM. (I ignore the request to upgrade as I want the VM to be able to run on earlier versions of the VMware applications.) 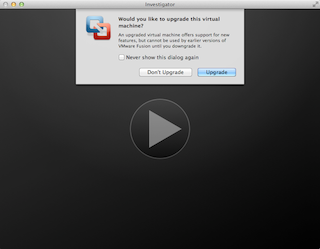
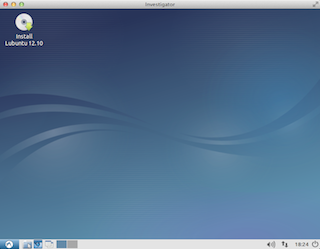
The VM will open at the Lubuntu live desktop. Launch the Lubuntu CD Installer shown on virtual machine’s Desktop.
The Lubuntu installation is configured with the following parameters:
- TZ = Washington DC
- Keyboard = US
- Hostname = investigator
- VM name = Investigator
- Username = Forensic Investigator (forensic)
- Password = oucl2013
- Login = automatic
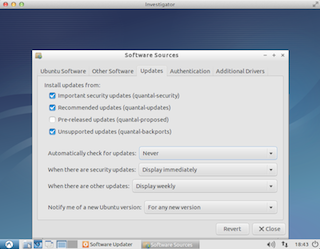
Once the Lubuntu installation is complete restart the VM. At this point I disable automatic updates so as not to have updates break any of the tools that are built as part of this setup. 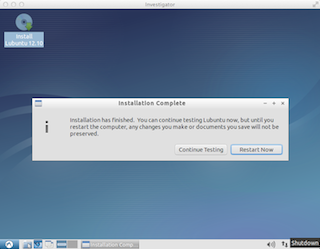
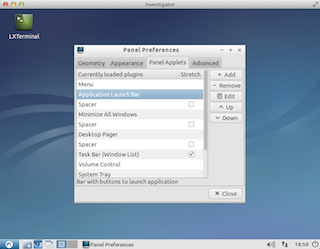
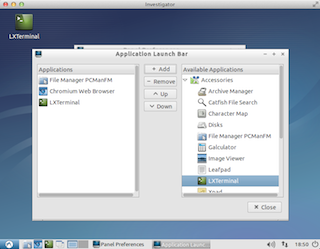
Now open LXTerminal (Terminal) and add it to the Desktop and Panel. 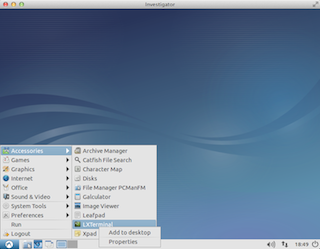
Install Updates
Open LXTerminal and using the command line, install the lastest Lubuntu distribution updates before we build the tools.
sudo apt-get update && sudo apt-get upgrade && sudo apt-get dist-upgrade
sudo apt-get clean
Install Build Essential Tools & Headers
sudo apt-get install build-essential
sudo apt-get install linux-headers-$(uname -r)
sudo apt-get autoremove
Edit .bashrc
I like to have a colour prompt in the terminal so I edit .bashrc and enable the colour prompt.
nano .bashrc
Remove the # so this line now reads as:
force_color_prompt=yes
Edit the colours and prompt layout as you please. This is my prefered prompt - green user and host name, blue working directory and prompt on a new line so you have the maximum space to type a command before the line wraps around:
PS1=’${debian_chroot:+($debian_chroot)}[\033[01;32m]\u@\h[\033[00m]:[\033[01;34m]\w\n[\033[00m]$'
Once .bashrc is edited the changes can be implimented immediately by issueing the following command in the terminal:
source .bashrc
Install VMware Tools
Use the VMware Fusion menu VMware Fusion > Virtual Machine > Install VMware Tools to create the VMware Tools CD and make it appear as a Removable Disk. 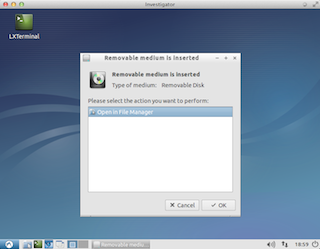
Open the Removable Disk and copy the VMware Tools compressed file to /tmp folder. Then eject the CD. In the terminal, change directory to /tmp, uncompress the file, run the VMware Tools installation script and set up network module.
cd /tmp
tar -xvf VMwareTools-9.2.2-893683.tar.gz
cd vmware-tools-distrib/
sudo ./vmware-install.pl
Accept the default actions as vmware-install.pl runs. Once the script has finished run the following commands:
sudo stop networking
sudo rmmod pcnet32
sudo rmmod vmxnet
sudo modprobe vmxnet
sudo start networking
sudo reboot
Install Sleuthkit and its Dependencies
Install Dependencies
cd ~
sudo apt-get install zlib1g-dev libssl-dev libncurses5-dev
sudo apt-get install libcurl4-openssl-dev libexpat1-dev libreadline-gplv2-dev
sudo apt-get install uuid-dev
sudo apt-get install libfuse-dev
sudo apt-get install bzip2
sudo apt-get install libbz2-dev
sudo apt-get install git
sudo apt-get -y install automake1.9  autoconf libtool
Install libewf
Download libewf from Google Drive using a browser to go to URL:
https://googledrive.com/host/0B3fBvzttpiiSMTdoaVExWWNsRjg/
or
wget -v https://googledrive.com/host/0B3fBvzttpiiSMTdoaVExWWNsRjg/libewf-20130416.tar.gz
Once the libewf tarball is downloaded:
tar -xvf libewf-20130416.tar.gz
cd libewf-20130416/
./configure
make
sudo make install
Install AFFLIB
cd ~
git clone git://github.com/simsong/AFFLIBv3.git
cd AFFLIBv3/
./bootstrap.sh
./configure
make
sudo make install
Install Sleuthkit
cd ~
git clone git://github.com/sleuthkit/sleuthkit.git
cd sleuthkit
./bootstrap
./configure
make
sudo make install
Install Autopsy v2
Download Autopsy from http://www.sleuthkit.org/autopsy/v2/download.php. In this instance I create a folder evidence_locker in the guest filesystem for Autopsy to use. As this is a virtual machine a more practical approach would be to share a folder in the host filesystem that Autopsy could use.
cd ~
mkdir evidence_locker
git clone -b autopsy-2 git://github.com/sleuthkit/autopsy.git
cd autopsy
./configure
Install Additional Applications
In addition to using Sleuthkit the exercises involve the analysis of network and Internet artifacts, which requires the installation of additional applications in the VM.
sudo apt-get install gparted wireshark net-tools tcpstat gqview tcptrace tcpflow imagemagick etherape
sudo apt-get install feh firefox sqlite sqlite3
sudo apt-get install foremost ntfsprogs whois
Add SQLite Manager To Firefox
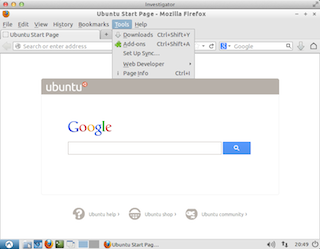
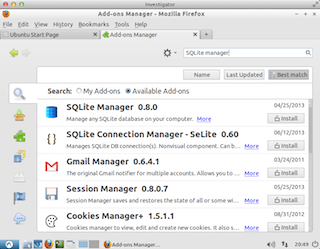
SQLite Manager is a useful extension to Firefox for looking at SQLite databases, such as those used to store the browser history on later versions of Firefox. To install SQLite Manager, launch Firefox and add SQLite Manager via Firefox’s Add-ons Manager. SQLite Manager will appear in the Tools Menu after restarting Firefox.
- Firefox > Tools > Add-ons Manager
- Search for SQLite Manager
- Restart Firefox
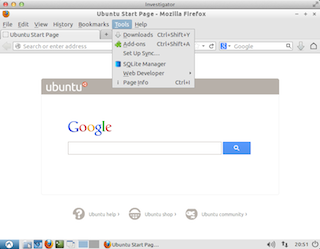
Add Firefox to the Panel.
Install Truecrypt
Download Truecrypt 32-bit version for Linux from (http://www.truecrypt.org)[http://www.truecrypt.org]
cd ~/Downloads
tar -xvf truecrypt-7.1a-linux-x86.tar.gz
./truecrypt-7.1a-setup-x86
And To Clean Up
sudo apt-get autoremove
sudo apt-get clean
Clean .bash_history
rm .bash_history && touch .bash_history
To Configure The VM For Your Use
Set The Keyboard Type
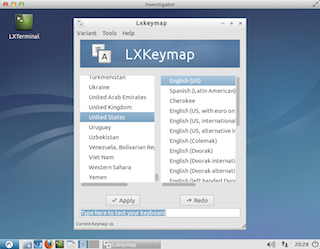
Launch the Lxkeymap application in the Preferences menu to set the keyboard type. 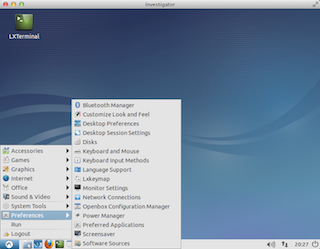
Set Display Size
The default VM has a display size of 800 x 600 pixels. Launch the Monitor Settings application in the Preferences menu to set the display size. 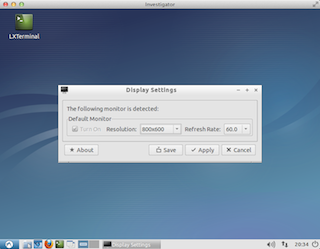
Set The Timezone
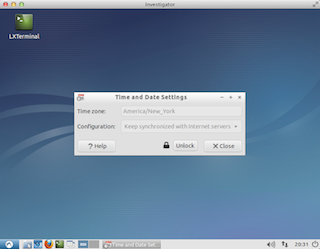
Launch the Date and Time application in the System Tools menu to set the timezone. Remember to Unlock the panel in order to make the changes. 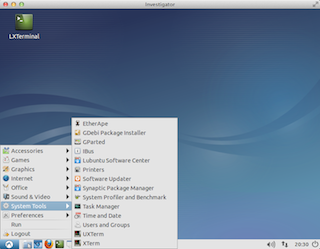
Set The Directory Sharing Between The Guest and The Host
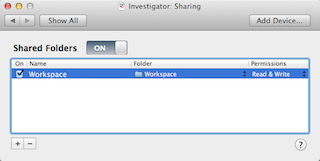
When the VM is opened in VMware Fusion, open the Settings panel and select the Sharing tab. Click the + button and select the host folder you want to share with the VM. The folder will appear in the VM guest filesystem under the path /mnt/hgfs/{name}, e.g. /mnt/hgfs/Workspace, for the example shown. You can rename the guest folder in the VM by clicking on the name in the Shared Folders panel. 